| 79.1. CPX accounting software | ||
|---|---|---|
 | Chapter 79. CPX accounting software |  |
| 79.1. CPX accounting software | ||
|---|---|---|
| | Chapter 79. CPX accounting software | |
The CPX accounting software is a Windows 2000/XP/Vista/7 application suite, which provides the possibility to monitor every call handled by one or more Abilis CPXs.
It consists of an agent running in Abilis CPX plus collector and extractor applications running on a Windows platform.
Software download: go to Abilis
technical website - Accounting download, select the software
Release and download the
Acnt-X-Y-Z.exe file (X.Y.Z
stands for the release number).
Extract the Collect
(Collect.exe) and Extractor
(Extract.exe) programs by double-clicking the
Acnt-X-Y-Z.exe file.
![[Tip]](../images/tip.png) | Tip |
|---|---|
It's recommended to create a shortcut of
|
It collects information about phone/data calls made on Abilis and realizes a TCP connection between the PC and the monitored Abilis on port 2060.
![[Note]](../images/note.png) | Note |
|---|---|
To make the connection running, it's needed to activate the ACNT resource in Abilis. |
To start the program double-click the
Collect.exe file.
Go to menu and select .
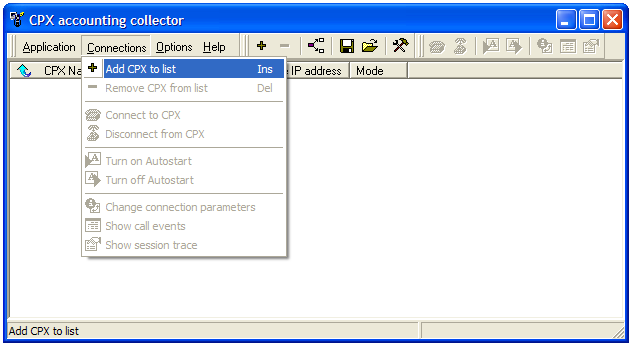
In the Change connection parameters window, configure the following fields:
CPX Name: name of the Abilis CPX (it's just a label).
Remote host or IP address: IP address of the Abilis CPX to monitor.
Remote TCP port: 2060 is the
default value; the ACNT
resource on Abilis uses that TCP port.
Connect automatically at startup: if it's selected, the connection to Abilis CPX is generated automatically at the program start-up; if it isn't selected, the connection must be manually done by choosing form menu.

Click the button to confirm.
This is the result:
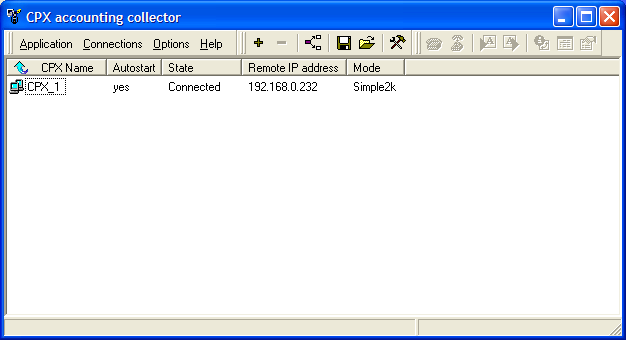
The Connected State indicates that the connection with the Abilis is active and the program is ready to collect information.
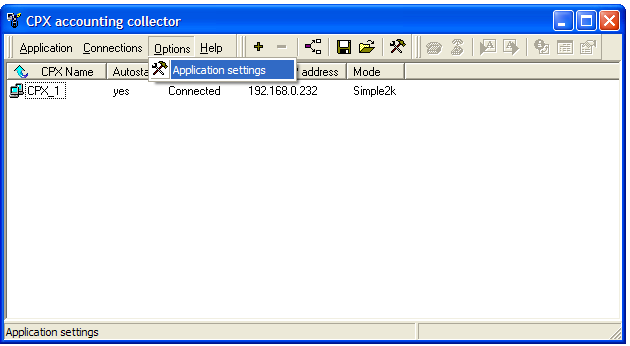
Go to menu and select .
In Autosaving tab, select Use
autosave, the save frequency (by default is set up to
Daily) and the time to save (by default is
set up to 23.59); at this date, the calls
will be saved in a yyyy-mm-dd---hh-mm.dat
file placed in the same directory of
Collect.exe.
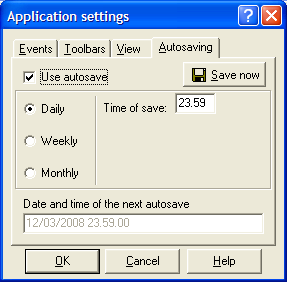
Click the button to confirm.
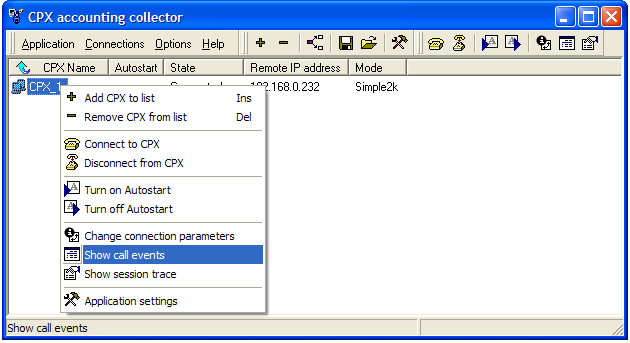
Right-click the connection icon in the list and select . This function shows the basic information of the calls passed through the Abilis from the begin of the connection of the Collector to the Abilis (calling number, called number, duration, date/time of disconnection, etc..).
The last calls are on the bottom of the window.
Unsuccessful calls are gray highlighted.
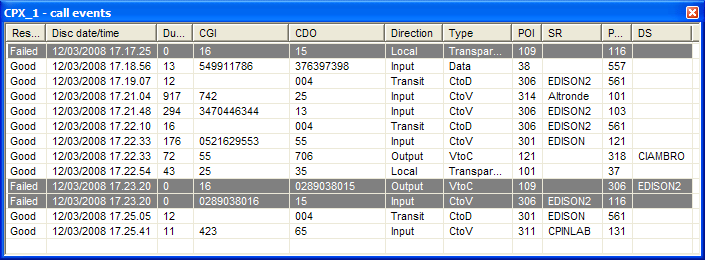
Clicking over on an entry shows all call information.

| Note |
|---|---|
The following icon in the desktop bar shows that the collector is running. 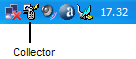 |
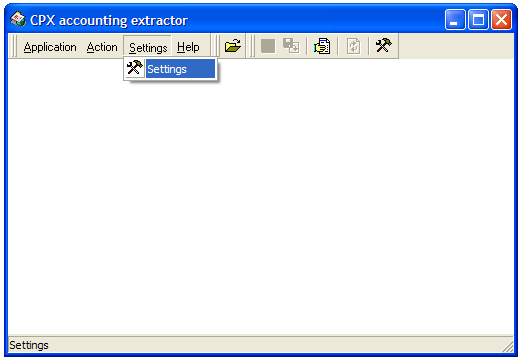
The Extractor is a program dedicated to export in TXT format information saved by the Collector program. The TXT file created can be imported with a data sheet (i.e. Excel).
To start the program double-click the
Extract.exe file.
Go to menu, and select .
In Default mask tab, select the
AllFields.msk file.
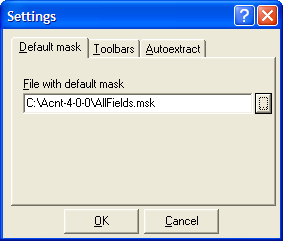
Click the button to confirm.
In Autoextract tab, configure the following fields:
Use autoextract: if it's selected, the DAT files will be automatically converted in TXT format (it will be also created a backup file .BCK). The program with a configurable frequency (by default is set up to 10 minutes) will check if new DAT files have been created.
Path to monitor: directory where the program searches the DAT files.
Mask to use: mask used to convert the DAT files.
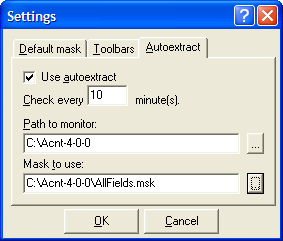
Click the button to confirm.
Click the button and select the DAT (or BCK) file that you want to convert: summary information will be shown about the number of good and failed calls, the type of the call, etc.
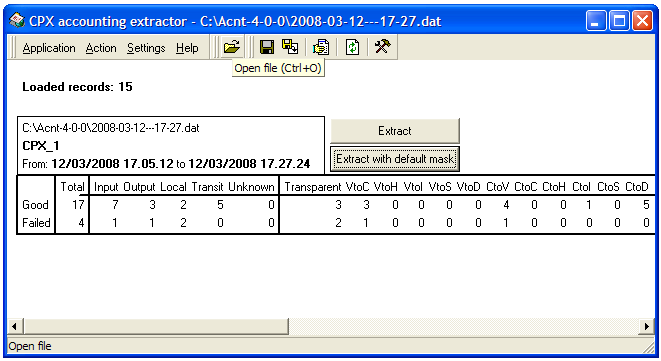
If you click the button, the file will be exported in TXT format, with the default mask, specified in the menu.
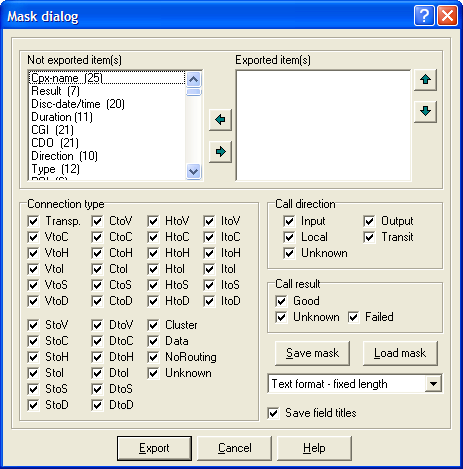
If you click the button, a new window allows to select the fields to insert in the mask or to load an existing mask. When the mask has been defined, click the button to create a TXT file.
| |  | |
| Chapter 79. CPX accounting software |  | 79.2. Appendix |